Follett 110 Series User Manual
Browse online or download User Manual for Ice cube makers Follett 110 Series. Follett 110 Series User's Manual
- Page / 28
- Table of contents
- TROUBLESHOOTING
- BOOKMARKS
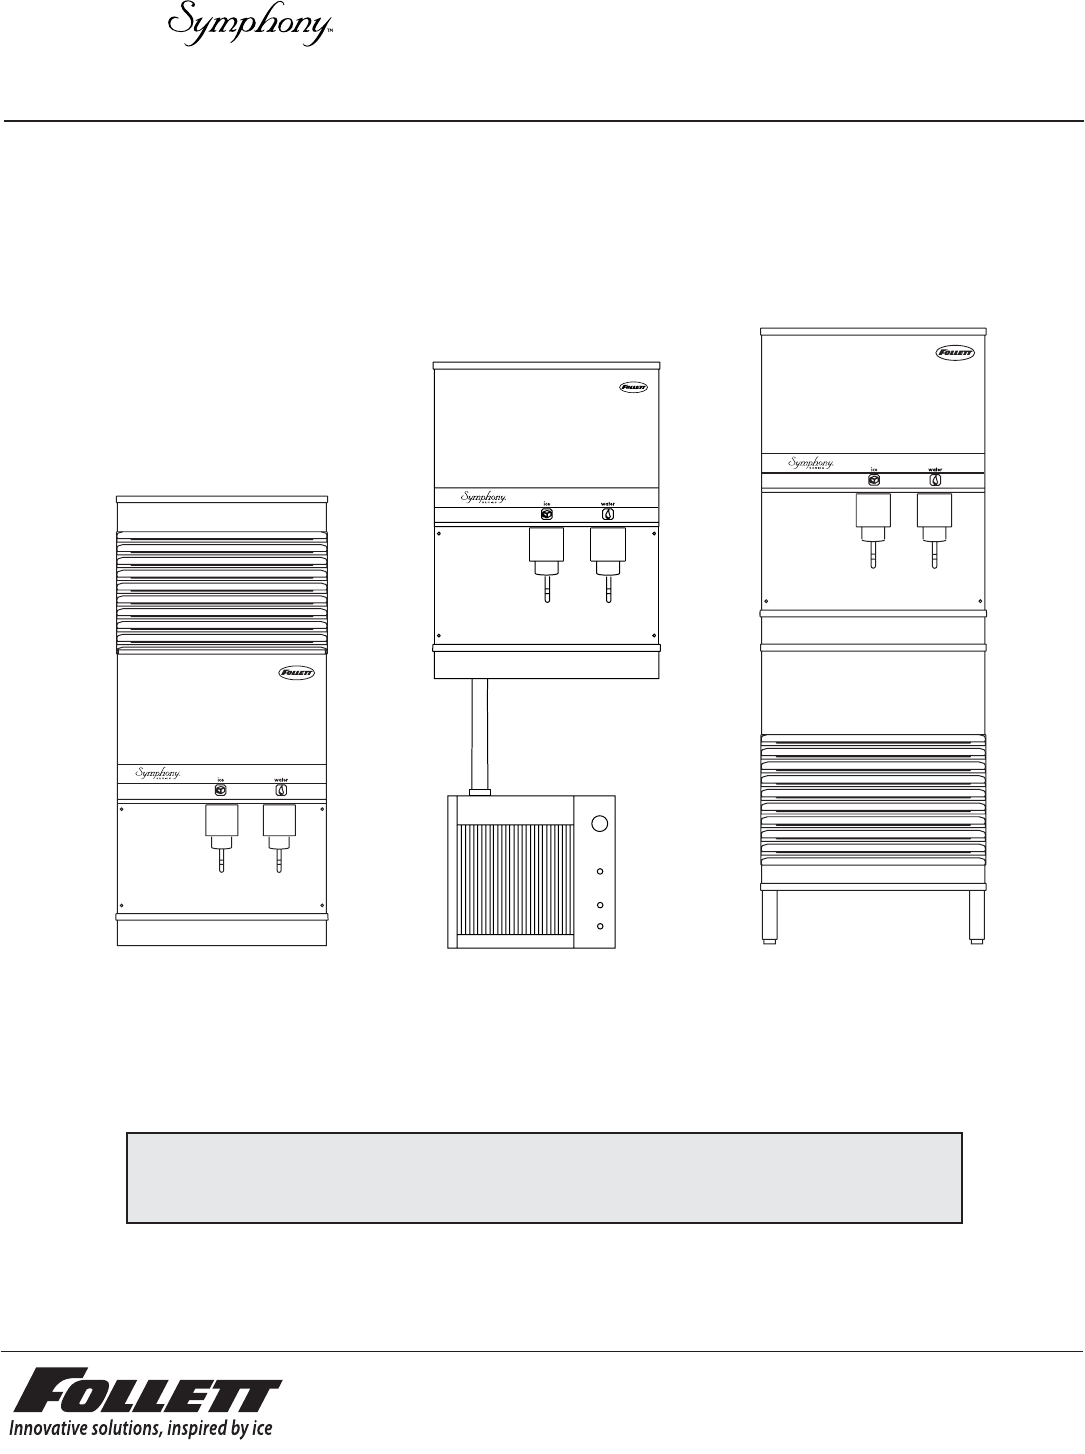
- Ice and Water Dispensers 1
- Table of contents 2
- C110CR400A 3
- Specifications 4
- Installation procedures 6
- User information 12
- Recommended weekly cleaning 13
- Service information 14
- Dispenser troubleshooting 16
- Lens/sensor troubleshooting 18
- Dispense chute removal 18
- Drive bar removal 18
- Wheel motor assembly removal 18
- All units 20
- Dispenser exterior 22
- Wheel motor and drive system 25
- Hopper components 26
- Chilled water components 27
- Ice transport tubing 27
- Solenoid dispense assembly 28
Summary of Contents
Installation, Operation and Service Manual Following installation, please forward this manual to the appropriate operations person.00109520R03C/E110CT
Installing Satellite-fill icemakers Models C/E110CR400A/W 1. Install Satellite-fill icemaker following instructions in icemaker manual. 2. Run
1. Remove dispenser top front cover by removing two screws at bottom corners of cover, lifting cover slightly and pulling forward. 2. Remove icema
User informationHow the dispenser worksFollett’s 110 series automatic load ice and water dispensers receive ice from Follett’s 181kg (400 lb)/day icem
Recommended weekly cleaning 1. Wash drain pan and grille with Solution A above. Rinse thoroughly. 2. Slowly pour solution of one cup (237ml/8 oz)
WTRS17MRELAY #14BRLYAMAIN POWERSWITCHBIN SIGNALT- S TATSWITCH(220/230 VAC)ICE MACHINEPOWERREDRD RDORANGEREDPURORANGEWHITEWHITEWHITEWHITEWHITEWHITEWHIT
How unit works — SensorSAFE modelsSensorSAFE models provide “touchless” ice and water dispensing. When a container is placed within the actuation zone
Symptom 1. Does not dispense ice 2. Does not dispense water 3. Water runs continuously 4. Dispense wheel rotates continuously 5. Icemaker runs co
Troubleshooting SensorSAFE board and sensorsBoard guideLEDs, when illuminated, indicate the following: PWR (board power) CLN (cleaning, no disp
18Lens/sensor troubleshooting 1. Turn dispenser power switch off. 2. Remove splash panel. 3. Disconnect wires from output terminal(s) (WTR, SOL,
Ice transport tube replacement Models C/E110FB400A/W, C/E110CR400A/W 1. Remove top and rear access panel from dispenser (lower front panel in
Before you beginSpecifications Field wiringInstallation Installing freestanding dispensers Installing countertop dispensers Installing Satellite-fil
engaging pin5mm (3/16") ice tube holeice hose mounting bracketice level control statice tube26mm(1")capillary tube20All units 9. Slip suppl
well nutice levelcontrol statrubber grommetcontrol box assemblyice mounting hose bracketknurled screwhopper assemblyice level control statbin thermost
22Part # Description Reference502756 Cover, top front, 110 countertop (CT) 1502703 Cover, top front, 110 countertop unit with Satellite-fill icem
Part # Description Reference502057 Fastener, dispense chute bracket 1502356 Tube, water station 2502681 Cover, dispense chute 3501829 Switch
24Part # Description Reference502057 Fastener, dispense chute bracket 1502681 Cover, dispense chute (includes labels) 2502248 Chute and funnel,
124335Wheel motor and drive system2516787Part # Description Reference501699 Wheel motor, 220V, 60Hz/230V, 50Hz 1501026 Washer, thrust 2501607 Fa
26Part # Description Reference501802 Baffle, ice 1501493 Wheel, dispense (includes drive bar, rotating agitator, threaded bar & rod) 2501494
27Part # Description Reference502598 Coil, chilled water (includes two 502599) 1502599 Fitting, water coil 2502600 Brackets, chilled water cani
Solenoid dispense assemblyPart # Description Reference #501844 Solenoid, dispense, 220V, 60 Hz/230V, 50Hz 1 502040 Cotter pin 2502039 Linkage, s
Welcome to FollettFollett equipment enjoys a well-deserved reputation for excellent performance, long-term reliability and outstanding after-the-sale
SpecificationsElectrical 1. Models with Satellite-fill icemakers (C/E110CR400A/W) Icemaker Dispenser 220V/60Hz/1 phase 5 amps 1.5 amps
5Field wiring for countertop dispensers with Satellite-fill icemakersModel Electrical connection CurrentC110FB400A/W cord provided 220V 60Hz, 6.5 am
Installation proceduresInstalling freestanding dispensers 1. Carefully tip dispenser back to expose underside and block up in place. 2. Remove leg
12. Verify that water sensor tabs are immersed in water in reservoir.13. Remove top front cover by removing two screws at bottom corners of cover. Lif
Installing countertop dispensers 1. Position dispenser in desired location, mark dispenser outline on counter and remove dispenser. 2. Drill four 5m
10. Apply a thick bead, approximately. 6mm (1/4") diameter, of NSF listed silicone sealant (Dow-Corning RTV-732 or equivalent) 6mm (1/4")
Related products and manuals for Ice cube makers Follett 110 Series
 (40 pages)
© 2020, manymanuals.com. All rights reserved. | 0.508 s |
 Manymanuals.com
 Manymanuals.de
 Manymanuals.fr
 Manymanuals.it
 Manymanuals.pl
 Manymanuals.cz
 Manymanuals.es
 Manymanuals-pt.com
Comments to this Manuals